Adding new assets
To integrate a new robot asset into your project, please follow the steps outlined below. These steps ensure that the asset is correctly added and configured for use in Isaac Lab.
Step 1: Collect the Asset
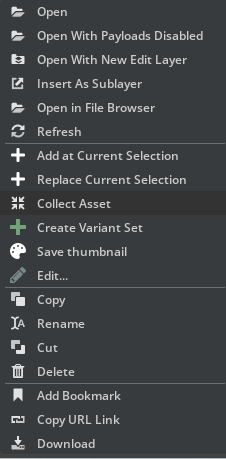
Begin by collecting the necessary asset within Isaac Sim. You do this by right clicking your robot USD file, and click collect as illustratred in the figure below.
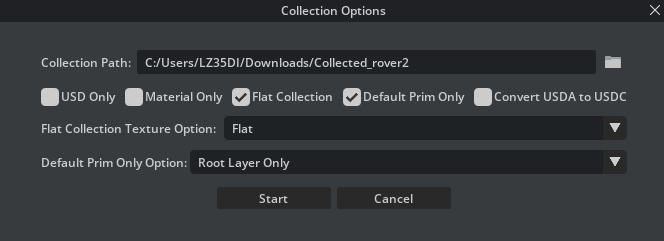
You then type in the following options, select an output folder and click collect.
Step 2: Add the Asset Files
Once you have the asset, you need to add it to your project's file structure. Specifically:
-
Navigate to
rover_envs/assets/robots/YOUR_ROBOT_NAME. -
Add the Universal Scene Description (USD) file along with any related content (textures, metadata, etc.) to this directory.
Make sure to replace
YOUR_ROBOT_NAMEwith the actual name of your robot to maintain a clear and organized file structure.
Step 3: Create the Configuration File
For each robot asset, a configuration (cfg) file is required. This file specifies various parameters and settings for the robot:
- Create a new cfg file named
YOUR_ROBOT_NAME.cfgin the same directory as your asset files (rover_envs/assets/robots/YOUR_ROBOT_NAME).
Step 4: Configure the Robot
The final step involves configuring your robot asset using the newly created cfg file:
- Open
YOUR_ROBOT_NAME.cfgand configure it as needed. You can refer to previous configuration files for examples of how to structure your settings. An example configuration file can be found here: Exomy Example Configuration.
By following these steps, you can successfully add and configure a new robot asset and use the suite to train an agent or perform experiments.